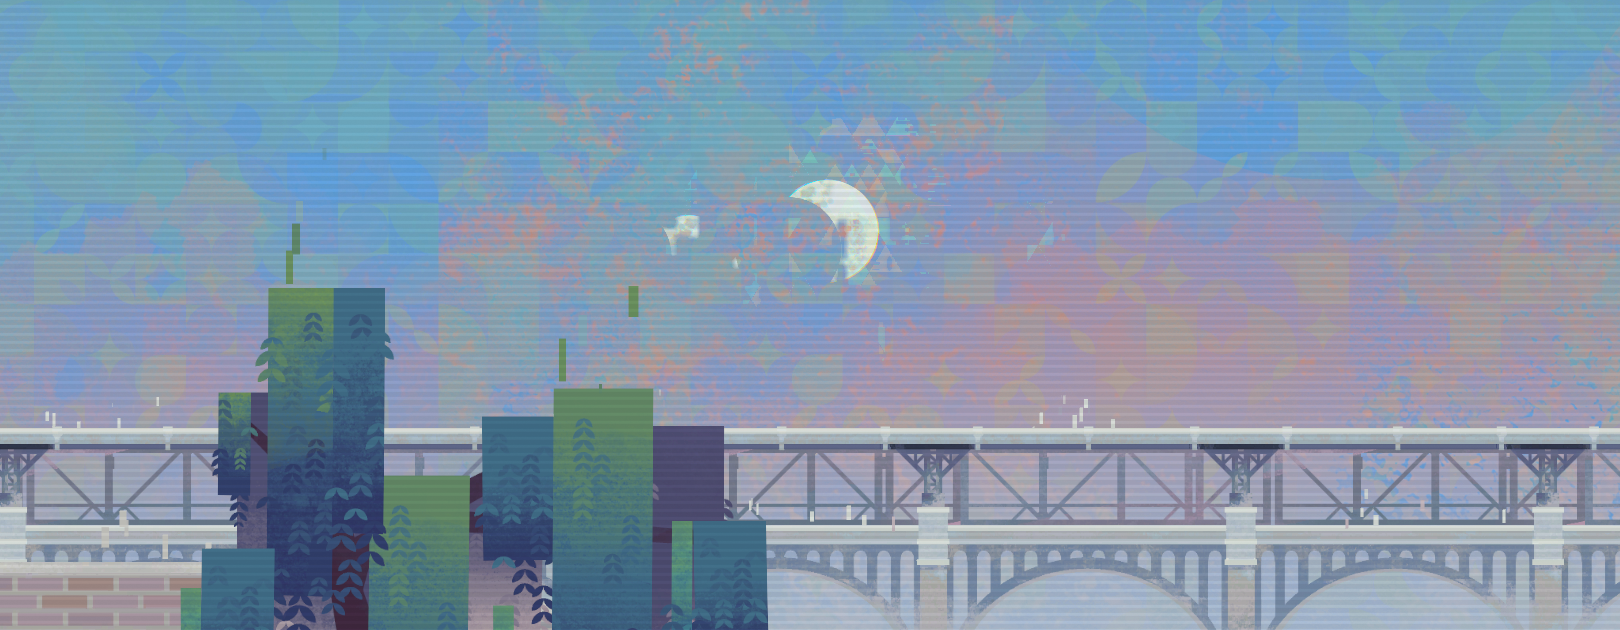
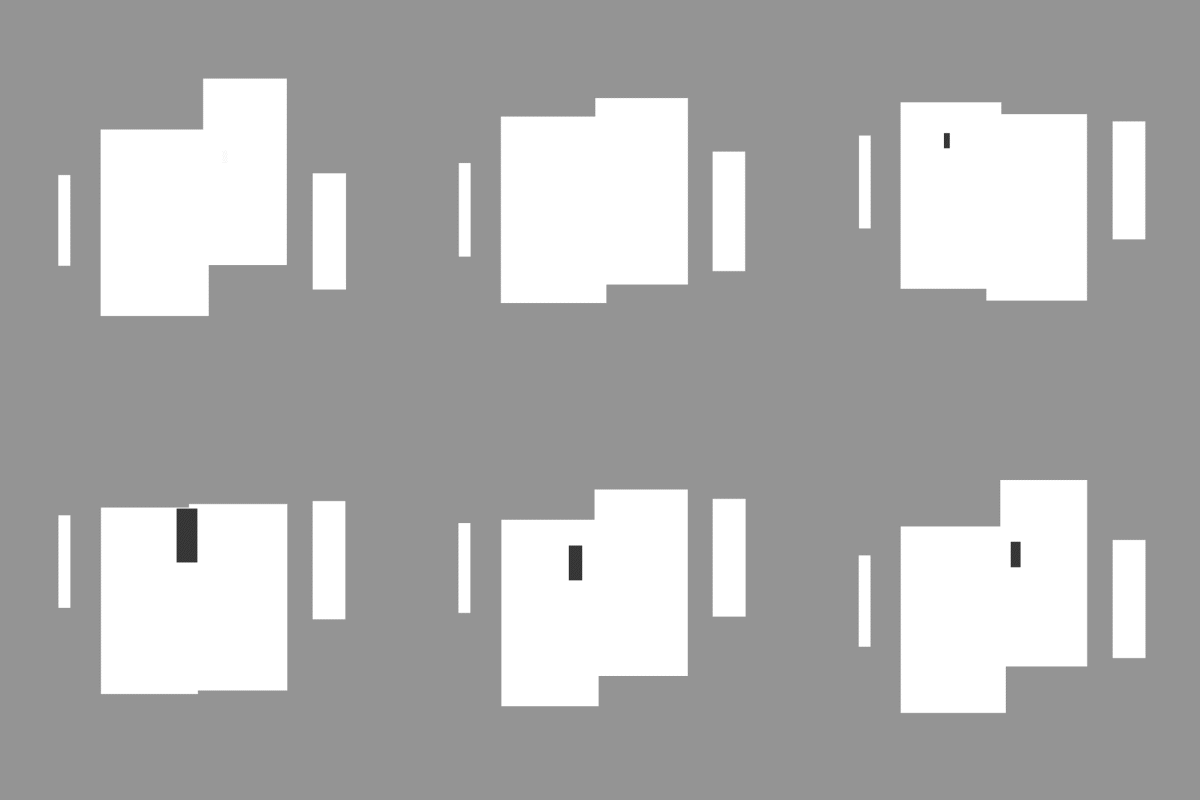
CIPHER ZERO’s moon is a lot of things. It exists in the same place in the sky. It follows you wherever you go. Most notably, it shimmers through multiple eclipses and blends with any sky, all while donning a chromatic aberration like a hat, sometimes putting it on and sometimes taking it off.
The million dollar question of “how do?” begins in the art department and ends in the tech department. It’s a long walk but I promise the view is nice.
Creating the Concept
The moon isn’t real
We see the moon often in our daily lives, enough that we take it for granted. Most people believe they know all they should know about the moon – be it a hunk of rock “a quarter the size of the earth” they learned in a documentary 10 years ago, or the basis of beautiful celestial designs and goddesses of old civilizations – because that’s the extent of what they need to know for their daily lives. Because of that, I think the moon exists more as a concept for many people rather than something real.
The abstract moons of CIPHER ZERO embody that incomplete understanding. This is the moon that people think they know, not the moon that they actually know. We wanted the design to look fragmented and broken to represent that incompleteness, then use effects to make the whole thing shimmer like a mirage. Moreover, it needed to be just bright enough to stand out as strange but just subtle enough that it doesn’t take over everything else.
Preparations
Before putting a visual together, it’s important to talk to an engineer who can tell you about limitations. That way the engineer won’t have to tell you the bad news that a finished concept can’t be implemented and you don’t have to be disappointed after putting time and effort into a finished concept.
As a rule of thumb, try to stick to the usual transformations (position, scale, rotation), typical color treatments (hue shift, alpha), and the usual blending modes (add, multiply). However, for this element, we needed a chromatic aberration, an animated mask, and a “lighter color” blending mode. This isn’t the end of the world. Chromatic aberration, simple masking, and blending modes tend to be somewhat safe requests when working with an experienced team.
Just in case, we checked with a member of the engineering team before trying to come up with something. Since they recommended concept first and can talk feasibility later, we kept in mind which things were most likely to be obstacles and made sure those components could be flexibly redesigned if needed.
Components
The abstract moon comprises of these parts in this order from top to bottom:
We built the components with mostly assets we already used in the game. That way any meanings of good and bad the player associates with them can carry over and make everything feel cohesive. For example, we combined the triangle components used in POWERPLANT (which was also used to derive the effect for solving a puzzle) with the glitchy edge effects in environment views to create the shimmer texture.
After assembling all of these components, we put them together with appropriate blending modes and adjustments, then layered it on top of an environment placeholder to test what it would look like in implementation.
From Concept to Reality
Now that we’ve covered how the concept was made, we can begin bringing it to life in-engine. Fortunately, this feature will look and behave exactly like the rendered concept, so we won’t have too many unknowns when planning out the implementation.
One of the many jobs of an engineer is to enable an artist/designer/director to create whatever they desire (…within reason). A design should only be limited when it is impossible to accomplish either technologically or financially. So let’s break down this task and it’s constraints. Doing so will help us narrow down how to implement the feature without causing problems.
The Task:
These are the broadest strokes that define what the work should be.
- should faithfully recreate the original artist’s concepts in-engine
- must be completed quickly
- must be easily slotted into the existing environments
- must be flexible and performant
The Problems:
Solving these problems will be the bulk of the planning/implementation. If we can think of a solution for these, then we should be able to implement without issue.
- At this point in development, the environments were completed. Any additions to them must be extremely precise, changing as little as possible
- The original moon concept was created in After Effects. It relied on the
Lighter Colorblending mode. This is not natively supported in-engine.
The Lucky Breaks:
New features don’t have to be infinitely flexible and perfectly transportable. Since this feature has a very specific home and behavior in the game, we can use those constraints to simplify our implementation.
- The moon only needs to blend with the environment backgrounds, not any foreground objects
- The moon remains at a fixed position on-screen due to the parallax effect
The Assumptions
Like the lucky breaks, we can assume a few things about the feature which allow us to further constrain the problem space.
- The moon is in a static position in screen-space
- The moon only needs to blend with a single background sprite (not true, oops! more on that later)
- The six moons are different configurations of interchangeable components
- The moon will only change during discrete off-screen moments
That’s a lot to think about! But for a visual effect like this one, there are dozens of ways to implement it. By considering all these factors we can narrow down the options to find the best fit.
Implementation
So let’s figure out our implementation. As mentioned above, there are two problems that must be solved in order to create this effect. Once we solve those, we should be home-free. To reiterate, we need to be surgical in our implementation, touching as little of the existing assets as possible; and we need to efficiently implement the Lighter Color blending mode.
Okay, so why is blending so hard?
- Blending requires the computer to know what is behind the object that is being rendered. This is considered really expensive since game engines go to great lengths to only render what is immediately visible
- Game engines generally support a few efficient blending modes (Alpha, Add, Multiply) easily while the rest require performant bespoke solutions.
- Arbitrary custom blending requires expensive screen reading operations
Fortunately, the moon only has to blend with just one background sprite, we can create a new shader that renders both the background and moon simultaneously, handling the blending internally and avoiding any expensive screen reading operations.
Shader Time
At its core, the shader is very simple. For any pixel, get what the background sprite would display, get what the moon would display, blend the two together, and render!
Let’s Build a Moon
The actual implementation is very similar to how it was originally concepted, however this time it was done with math. The moon is assembled from three separate layers: the background, the moon circle, and the mask.
The Background
The background is a simplified repeating texture that scrolls vertically over time. Since we are using the Lighter Color blending mode, the background’s color needs to be carefully tuned for each environment in order to blend correctly. This is accomplished with a 1x256 gradient lookup texture. With this, an artist can use the curves modifier in their image editor of choice to fine tune the appearance of the background texture.
The final result of the background layer: An infinitely repeating, color corrected, scrolling texture.
The Moon Circle
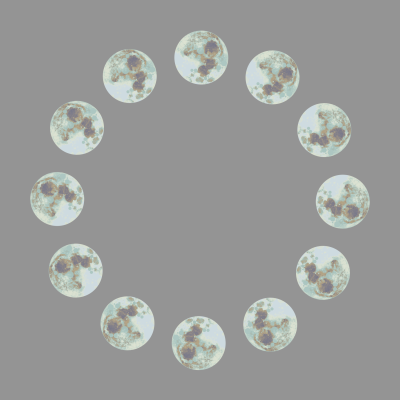
The moon circle consists of the static moon images and the rotating mask. The shader only renders parts of the base moon texture that aren’t covered by the mask texture. The resulting masked moon circles are given chromatic aberrations too. This is accomplished by splitting the image into separate color ranges, shifting them slightly, and then re-adding them back together.
The static moon base texture | The slowly rotating moon circle mask |
The final result of the moon circle layer
The Mask
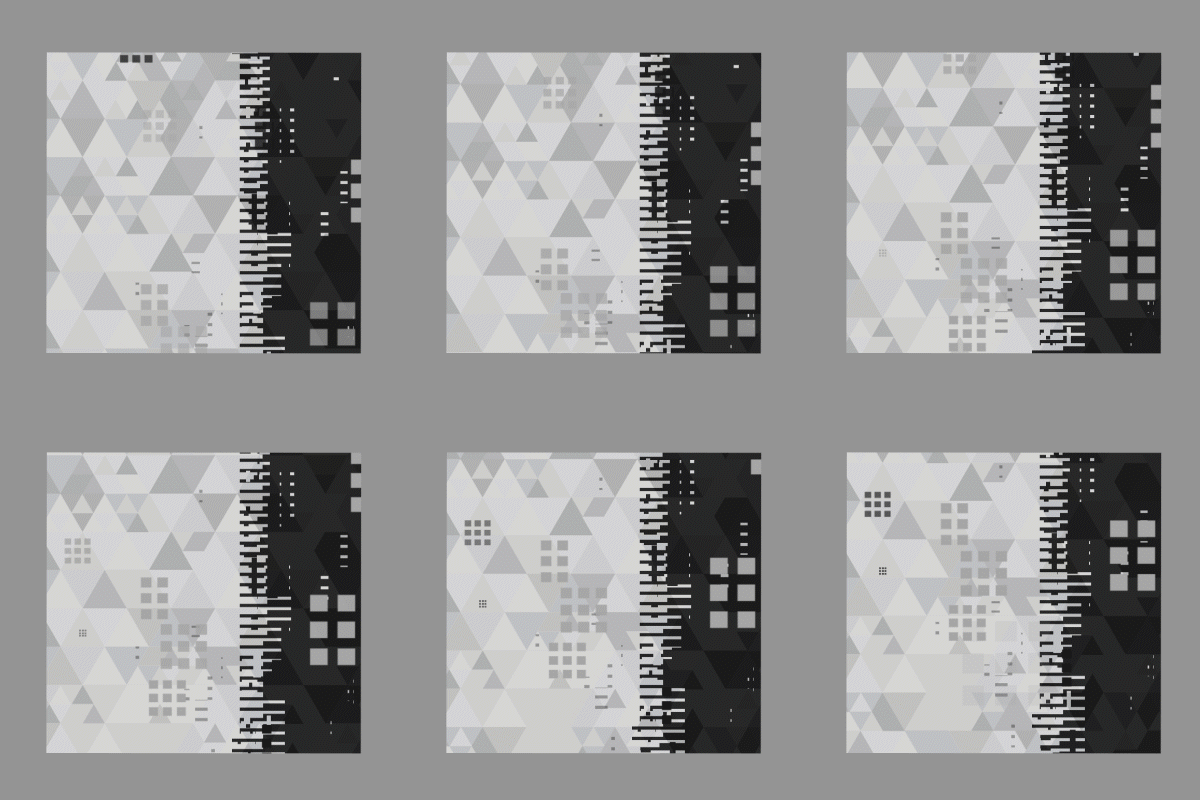
Finally, the mask is used to frame the moon. It is a black & white flipbook texture that has a looping 8 second render of the original concept mask from After Effects. Since the texture is only exported at 30 frames per second, the shader samples the current and next frames and interpolates between the two values to smooth out any transitions when viewed at higher-than-30-fps values. The resulting mask value is used create the moon’s overall shape.
The animated mask texture.
Combining the Layers
The three layers are combined together into a single resulting value. First the moon circle is alpha blended on top of the background texture. Then it is masked by the animated mask layer.
Blending
Using a custom implementation of the Lighter Color blending mode, we blend the combined moon effect on top of the original background sprite. The moon’s location is rendered in screenspace, causing it to stick to a fixed point on the screen.
For those implementing this at home, here is how to calculate a Lighter Color blend.
float lumA = dot(float3(0.30, 0.59, 0.11), a.rgb);
float lumB = dot(float3(0.30, 0.59, 0.11), b.rgb);

_out = lumA > lumB ? a : b;
Ta-da! A near-perfect recreation of the original concept.
Note: This appears overexposed since the scanline overlay in the game darkens the image considerably.
Oops, assumptions were wrong…
It turns out one of the original assumptions was incorrect!
The moon only needs to blend with a single background sprite
One of the game’s environments, Suburb, layers three different semi-transparent sprites to create its beautiful backdrop. Our shader is opaque and can only operate on a single sprite, so this will not work. This is a big problem. The entire setup relied on the simple single sprite backdrop to blend efficiently.
Okay but do we really need Lighter Color blending?
We started this implementation as fairly naive programmers when it came to blending. However, now that we’ve had some time to implement a solution ourselves and internalize how it works, we can think a bit more out of the box to solve this new problem.
Fortunately, since we had to implement the blending mode ourselves, the blending math was no longer some black-box magic hidden behind a fancy name. Using this knowledge we could come up with an approximation that manages to work for Suburb!
This is the code for the Approximate Lighter Color blend. It applies the luminosity of the moon to its alpha with a fixed threshold value and leans on native alpha blending to blend it with the background.
float lum = dot(float3(0.30, 0.59, 0.11), Color.rgb);
Alpha =  lum * (1.0 - step(lum, Threshold));
Ta-da (for real this time)! With this we have a functioning moon shader that faithfully recreates the original concept and works in all biomes without needing to modify existing environment assets.
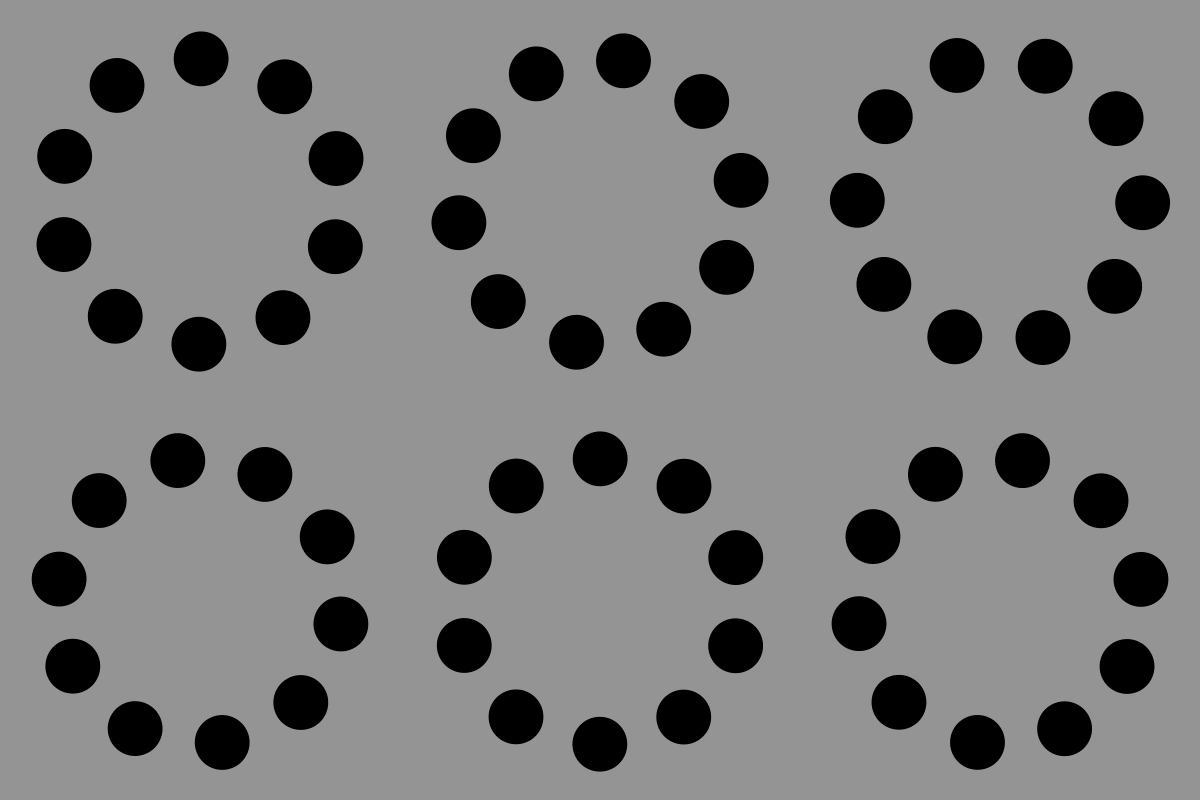
The bottom-center moon uses a totally different blending mode from the rest, can you tell the difference?
We hope you enjoyed this break-down of one of the most recognizable features of CIPHER ZERO’s landscape. Thank you for following along.


